Setting up your OpenAI API key
Connect OpenAI to Whiskers for cloud transcription and AI Enhancement. Five-minute setup.
Whiskers can use OpenAI for cloud transcription and AI Enhancement. To plug it in, you'll create or open an OpenAI Platform account, add billing, add credits or auto-recharge, generate an API key, and paste that key into Whiskers. The whole thing takes about five minutes.
You'll need:
- An email address (or Google / Apple / Microsoft account)
- A credit or debit card
- About 5 minutes
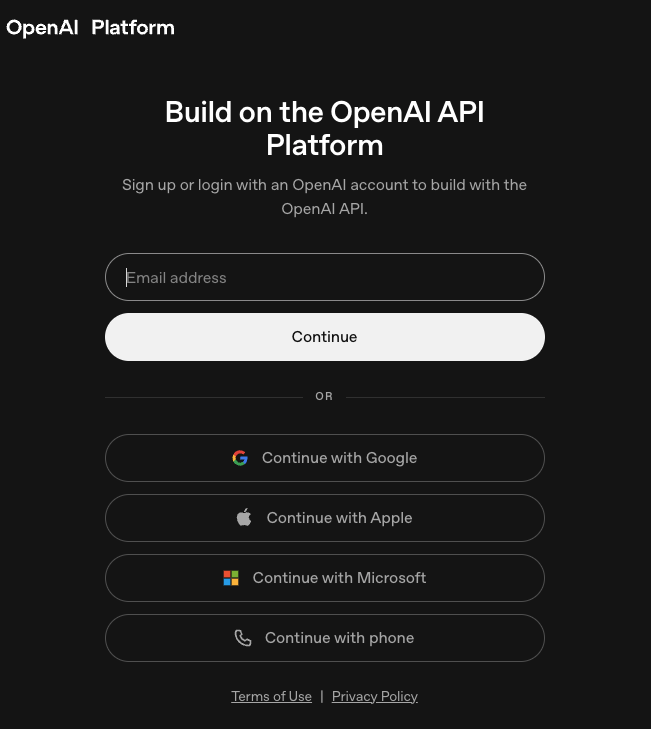
Step 1 — Go to platform.openai.com
Open platform.openai.com in your browser. Enter your email address and click Continue, or sign in with Google, Apple, Microsoft, or phone.
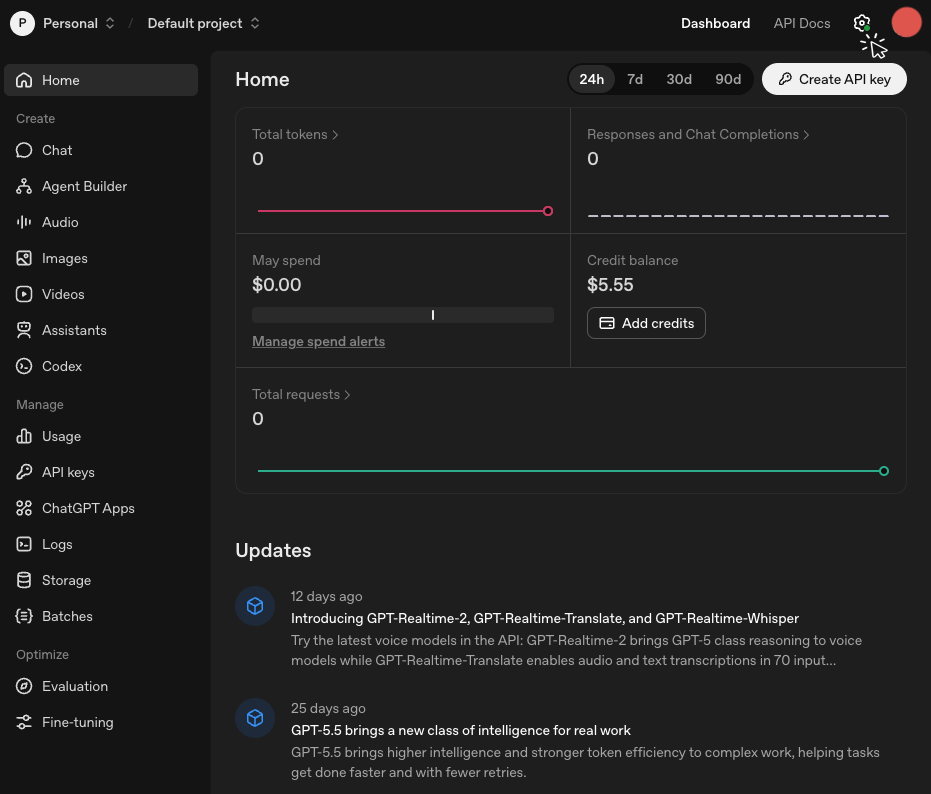
Step 2 — Open Settings
Once you're signed in, you'll see the OpenAI Platform dashboard. Click the Settings gear icon in the top-right corner.
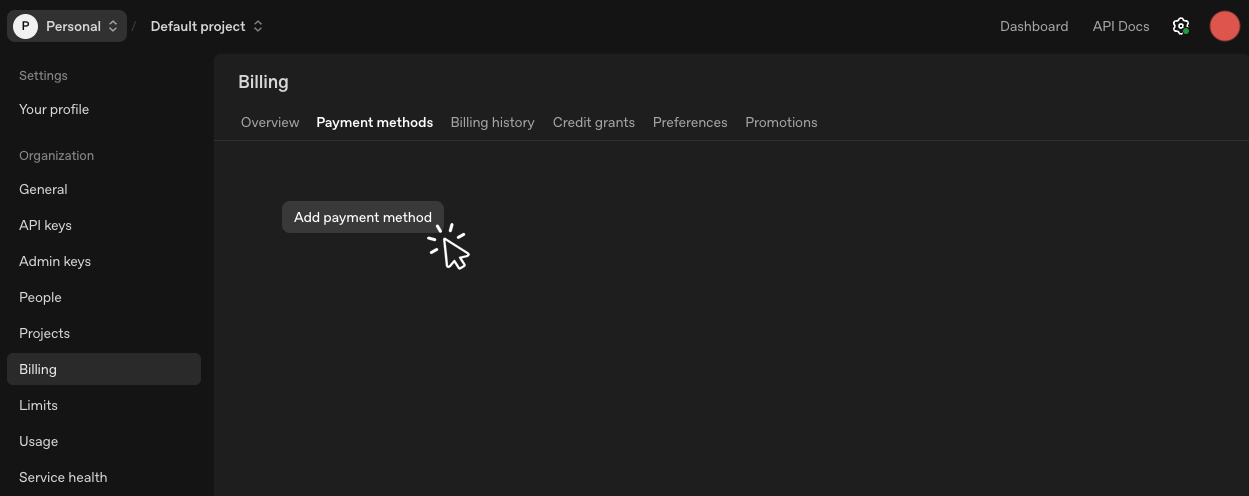
Step 3 — Add a payment method
In Settings, click Billing in the left sidebar, then open the Payment methods tab. Click Add payment method and follow the checkout flow to add your card.
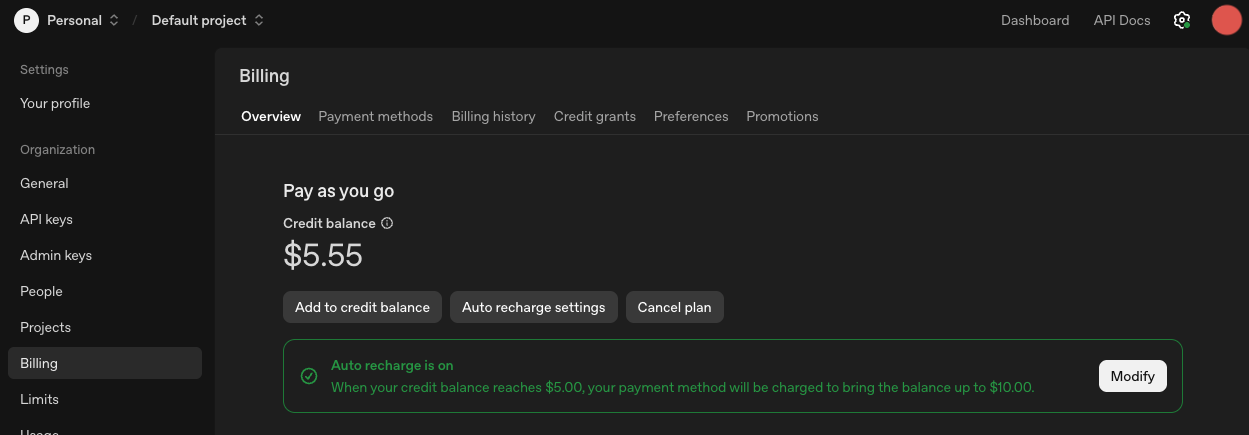
Step 4 — Add credits or enable auto recharge
Open the Overview tab under Billing. Click Add to credit balance to add prepaid credits, or use Auto recharge settings so OpenAI can automatically top up your balance when it gets low. OpenAI API usage is metered — you'll only be charged for what you use.
Step 5 — Create an API key
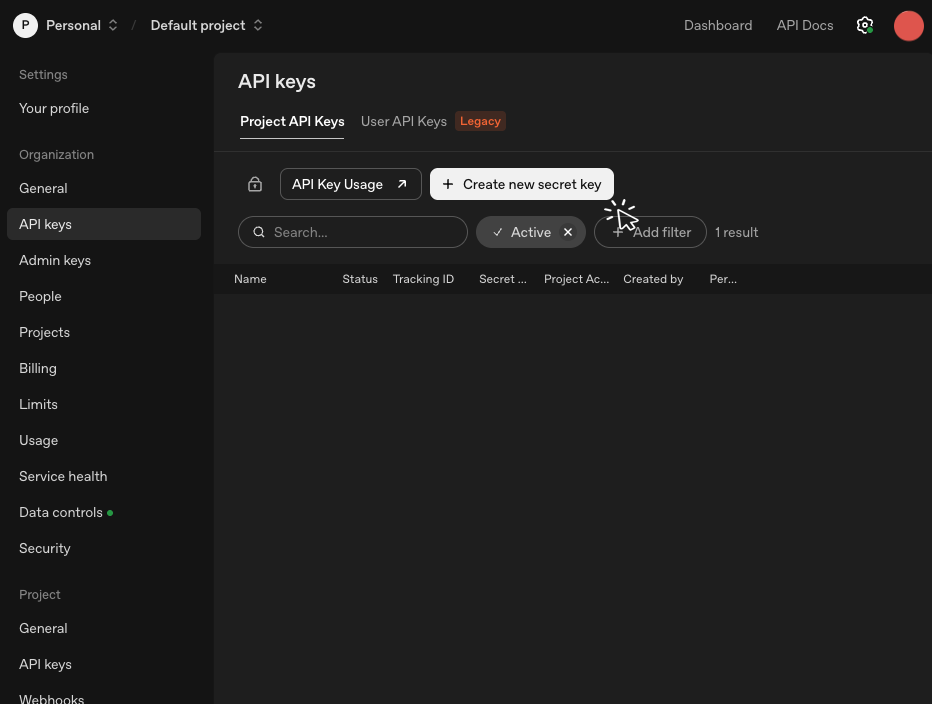
In the left sidebar, click API keys under Organization. Make sure you're on Project API Keys, then click Create new secret key.
Step 6 — Name it "Whiskers"
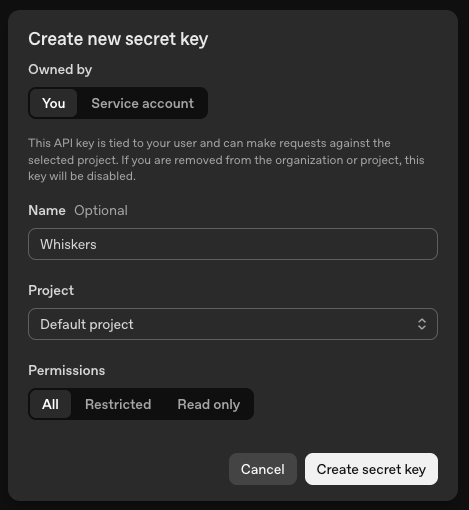
In the dialog, set Name to Whiskers so you can recognize it later. Leave Project set to your default project unless you intentionally use a separate project for Whiskers. Leave Permissions set to All, then click Create secret key.
Step 7 — Copy your key right now
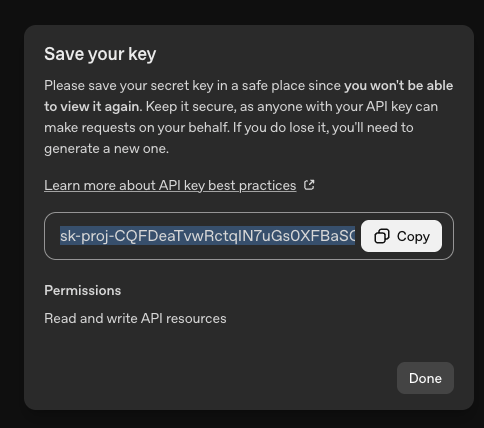
⚠️ Copy the key before closing this dialog. OpenAI only shows the secret key once. If you lose it, you'll have to create a new one.
Click Copy, then paste the key somewhere safe (a password manager is ideal). Once you've saved it, click Done.
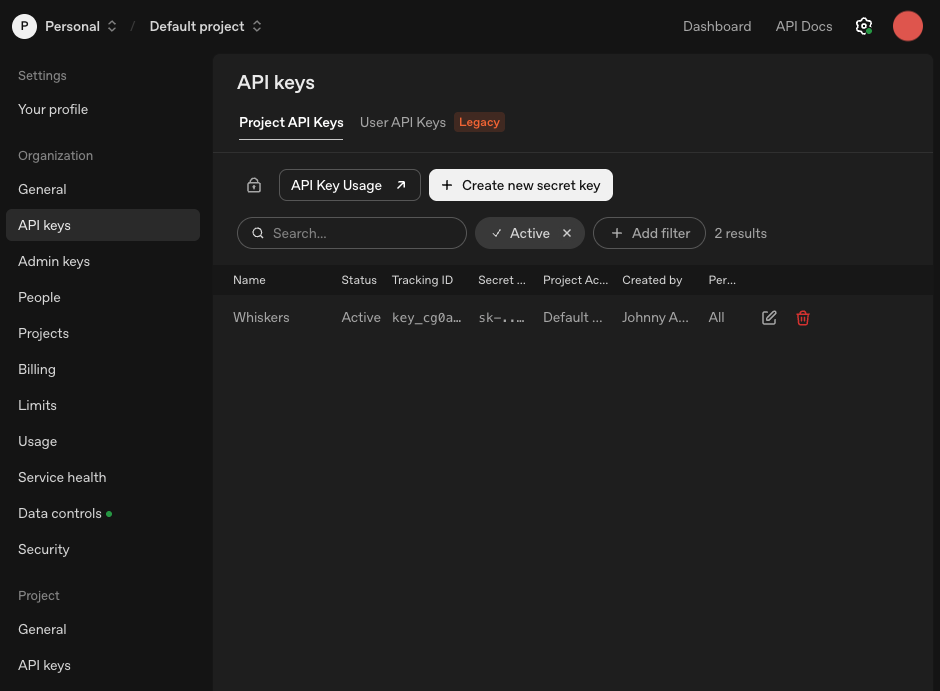
Step 8 — Confirm the key exists
You'll see your new Whiskers key in the Project API Keys list. The full secret is now hidden, which is expected.
Step 9 — Add the key to Whiskers
Open Whiskers and go to Settings → API Keys. Expand OpenAI, click Add OpenAI Key, name it Whiskers, paste the key you copied from OpenAI, and click Save.
To use OpenAI for transcription, go to Settings → Models → Cloud API, choose an OpenAI model, and confirm it is using the key you just saved. To use OpenAI for AI Enhancement, go to Settings → AI Enhancement and choose an OpenAI model.
Troubleshooting
I forgot to copy the key. No problem — create a new key from Step 5, then delete the old one from the API Keys list.
The key isn't working in Whiskers. Double-check that:
- You pasted the entire key (it starts with
sk-). - The key is saved under Settings → API Keys → OpenAI in Whiskers.
- Billing is set up in OpenAI (Step 3).
- Your OpenAI account has credit balance or auto recharge configured (Step 4).
- You're using a project key from Project API Keys, not an admin key.
I want to rotate or revoke the key. Go back to OpenAI's API keys page, click the trash icon on the row, and create a new key.